Understanding Layered Animation Tutorial |
|||||||
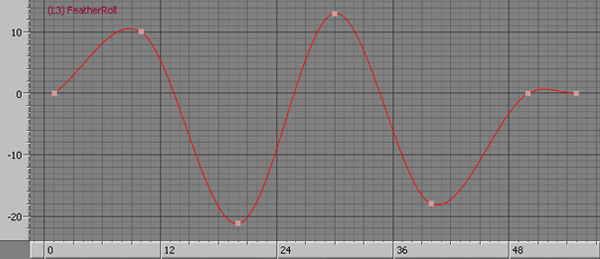
Page 3 Feather Roll Create a new layer and rename it Feather Roll.
Block the main parts of the animation by setting keys on frames 1,
10, 20, 30, 40, 50 and 55.
Final Tweaks The feather’s motion is looking much better
with the layer edits that have been done to it so far. Finalize it
by putting some minor tweaks in the translation of the controller.
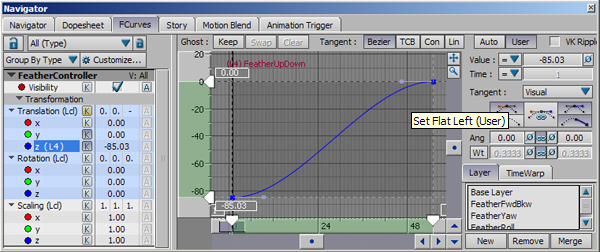
To give additional complexity to the animation, go to layer FeatherFwdBkw select and select all the transforms on the left side of the FCurves window. Draw a selection box on the Action Timeline from frame 10 until frame 40, move those keys one frame to the right by clicking and dragging between frames 10 and 20 (fig 15).
Repeat the process for layer Feather Yaw but this time move the keys to the left one frame. On layer Feather Roll move the keys to the right one frame also. The following movie shows the progression of the animation through the different layers.
|
|||||||
Conclusion Through the use of layered animation you have enhanced the motion of a feather falling down through a non destructive approach. If at any point of the process the new changes are not desired it is easy to go back to the previous stage by deleting the layer that they are in. Understanding layer animation will make it easier for you to enhance motion capture data through hand key framing later on. |
|||||||
Next |
|||||||
 |
|||||||